The exterior repairs that matter before winter are the ones that let water in. Water that gets into a joint, crack or bare board in November freezes, expands, thaws and gets in deeper, over and over until spring. On the Front Range, where sunny afternoons often follow freezing nights, that cycle can run many times in one winter. A full repaint can wait. Open joints and exposed wood should not.
This walkaround takes about an hour on a typical house. Do it in daylight, in the order below, with a notepad or your phone. The route starts where paint fails first.
Stop one: the south and west walls
South and west elevations take the most sun, and at Front Range altitude that UV is strong. In winter, the south wall also warms in the afternoon and freezes again at night, so it sees more freeze-thaw cycles than any other side. That is why these two walls show trouble before the rest of the house.
Look for paint that has cracked through to bare wood, especially on the bottom edges of lap siding and on the end grain where boards meet trim. Press a thumbnail into any bare spot. If the wood is firm, it needs spot priming before winter. If it is soft, it needs repair.
Stop two: the roofline
Stand back far enough to see the fascia, soffit and gutters. Look for peeling paint on the fascia directly behind the gutter, dark staining that suggests the gutter has been overflowing, and soffit panels that sag or show water marks. Clogged gutters send water down the face of the fascia every time snow melts on the roof.
Paint at the roof edge often fails because of water, not because of the paint. Clean the gutters before the first snow, and note any fascia boards that are soft or split. Our trim and fascia painting work starts with replacing those boards, since primer and paint do not hold on rotted wood.
Stop three: windows and doors
Windows take more water than any other painted part of a house. Work from the top of each window down: the head trim, the side casings, the corners where pieces meet, then the sill. Sills are horizontal and hold water and snow. Open miter joints at the corners, cracked caulk where trim meets siding, and loose or missing glazing on older wood sash are the things to mark.
At doors, check the bottom of the trim on each side, where snow piles up and the wood sits close to the ground or the threshold.
Stop four: the ground line
The bottom two feet of a house take sprinkler spray, snowmelt, splashback and soil contact. Walk the perimeter at ground level and look for:
- Siding or trim boards that touch soil, mulch or rock, with no gap below them
- Paint peeling at the lowest course of siding, often in the arc where a sprinkler head hits the wall
- Downspouts that discharge against the wall or next to the foundation
- Gaps around hose bibs, dryer vents, light fixtures and utility lines where they pass through the wall
- Stucco buried by soil or landscape rock at the base, covering the weep screed that lets water drain out
If the irrigation system has not been blown out for the winter, that is usually done in fall to keep lines from freezing. Before it is shut down, check which heads have been hitting the house.
Stop five: stucco
Hairline cracks in stucco are common and are usually cosmetic. Cracks that are wider, stepped, growing, or that run from the corners of windows and doors can let water in and are worth a closer look before winter. White, powdery deposits (efflorescence) mean water is moving through the wall and carrying salts with it. Note where they show up, because that is where water is getting in.
Small openings can often be sealed before winter with a patch or sealant made for stucco. Larger repairs and recoating are usually better done in warmer months with a breathable or elastomeric coating suited to the wall. Our stucco painting page covers how we match coatings to stucco condition.
Fix now or fix in spring
Once the walk is done, sort what you found. This is the triage we use.
| What you found | Before the hard freeze | Can wait for spring |
|---|---|---|
| Bare wood, firm | Spot prime on a warm afternoon | Topcoat |
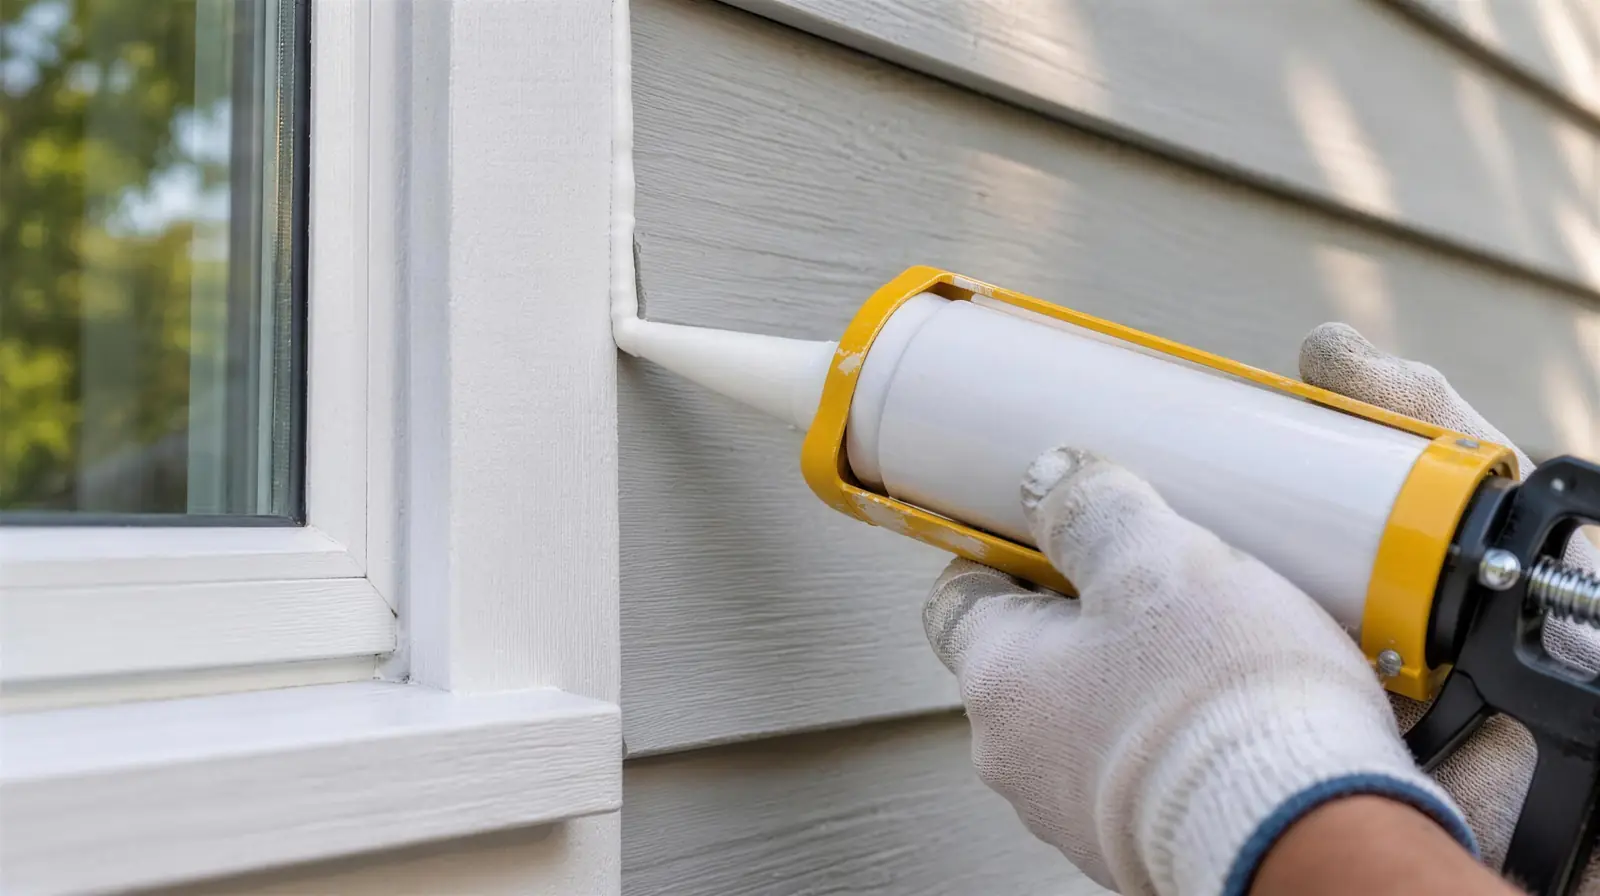
| Failed caulk at windows, trim or penetrations | Clean, dry and recaulk if the label temperature allows | Full recaulk with the repaint |
| Soft or rotted wood | Keep water off it: clear gutters, redirect sprinklers | Cut out and repair, then prime and paint |
| Open stucco cracks | Seal with a compatible stucco patch or sealant | Recoat the wall |
| Chalking or faded paint, film intact | Nothing urgent | Wash and repaint |
| Peeling over sound wood, small areas | Scrape loose paint and spot prime if dry and warm enough | Feather, prime and repaint |
The repairs on the left side of that table are small, but they decide whether spring starts with a repaint or with a carpentry bill first. Most of them fall under our exterior prep and repair work, and they can usually be done on the few good days left in late fall.
Request an estimate and we will walk the house with you, mark what needs attention before winter and plan the rest for spring.