The prep sequence, step by step
Each step sets up the next one. Skip a step or shuffle the order and it tends to show up as peeling within a few seasons.
- Wash off chalk, dirt and mildew, then let the house dry.
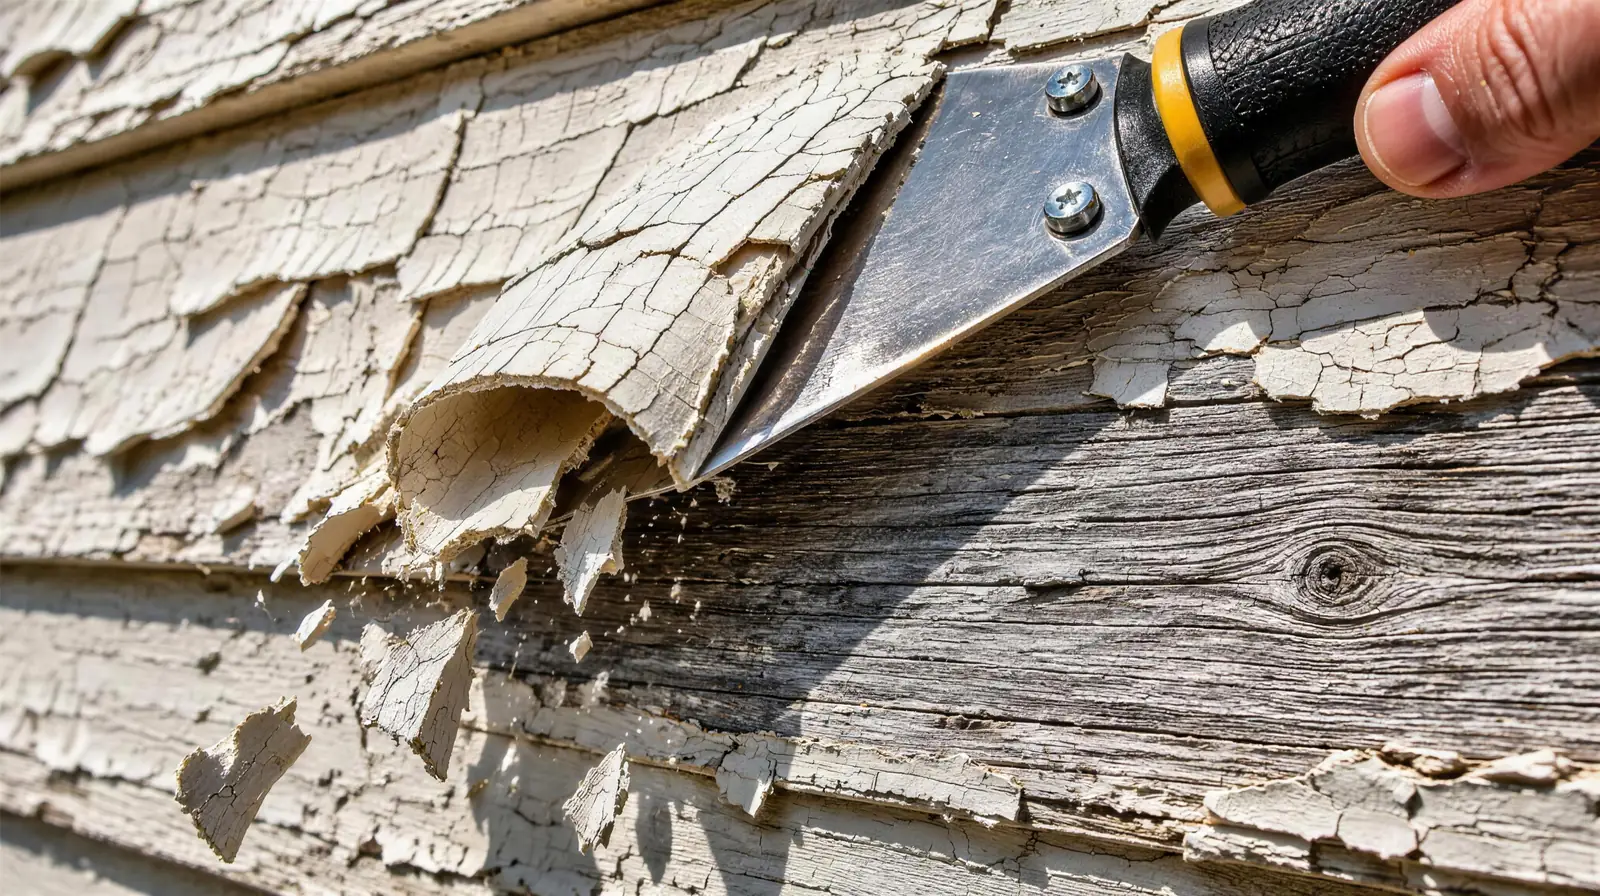
- Scrape every edge of loose paint back to where the old coating is tightly bonded.
- Sand to feather scraped edges so they don't telegraph through the new coat, and sand weathered gray wood back to fresh fibers.
- Repair rotted wood, either with epoxy or by replacing the board.
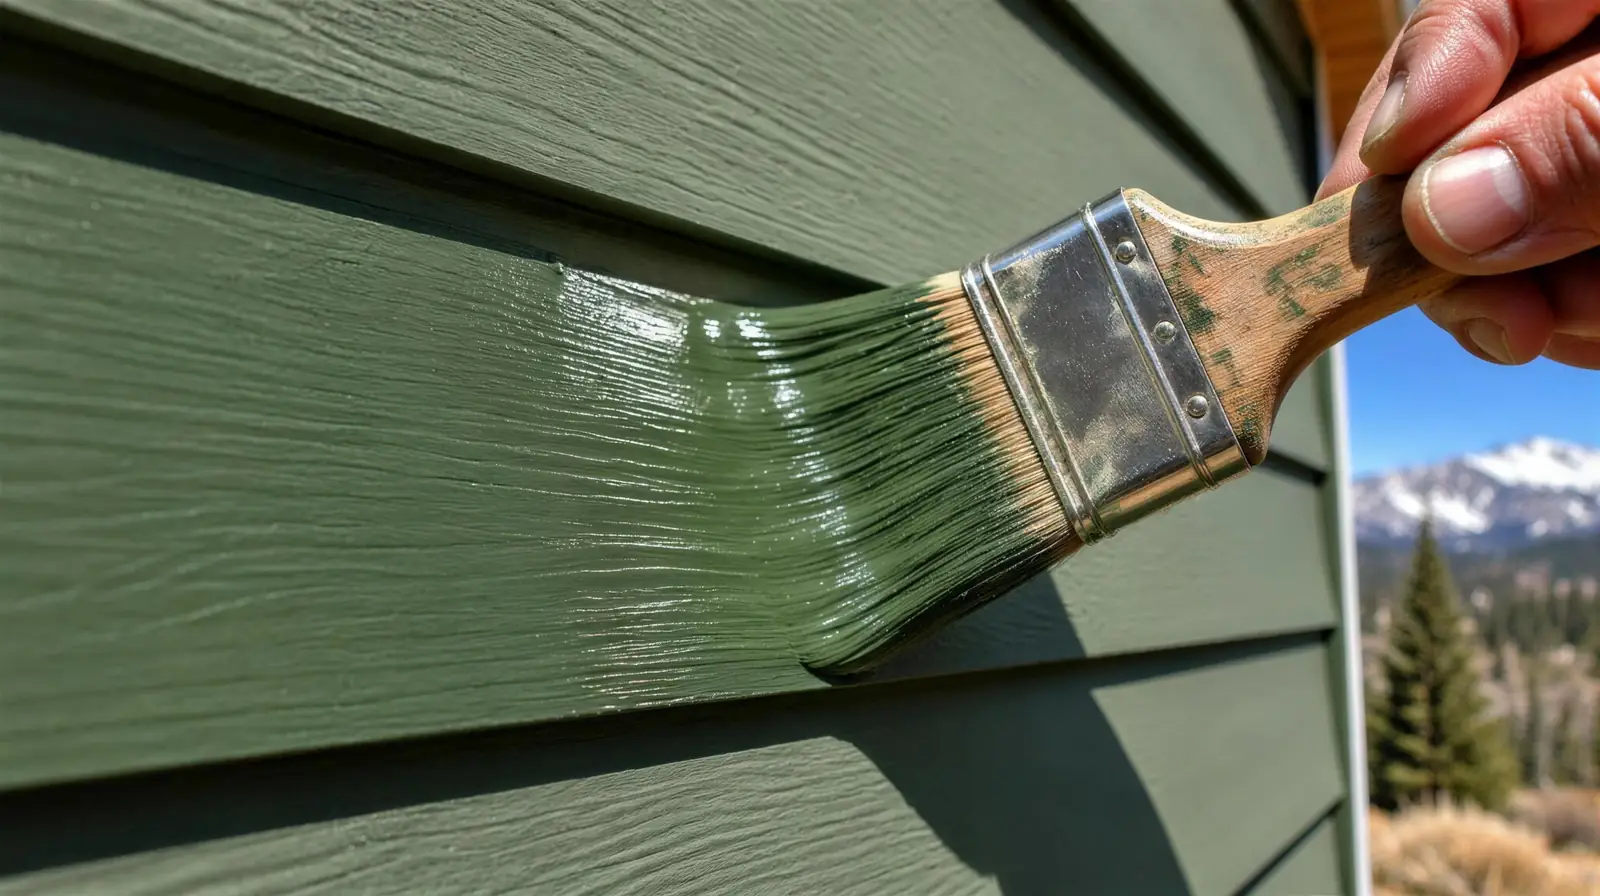
- Spot prime bare wood, repairs, knots, rust and patched masonry with the primer each one needs.
- Caulk joints that should be sealed, after priming, since sealant grips primed wood better than bare.
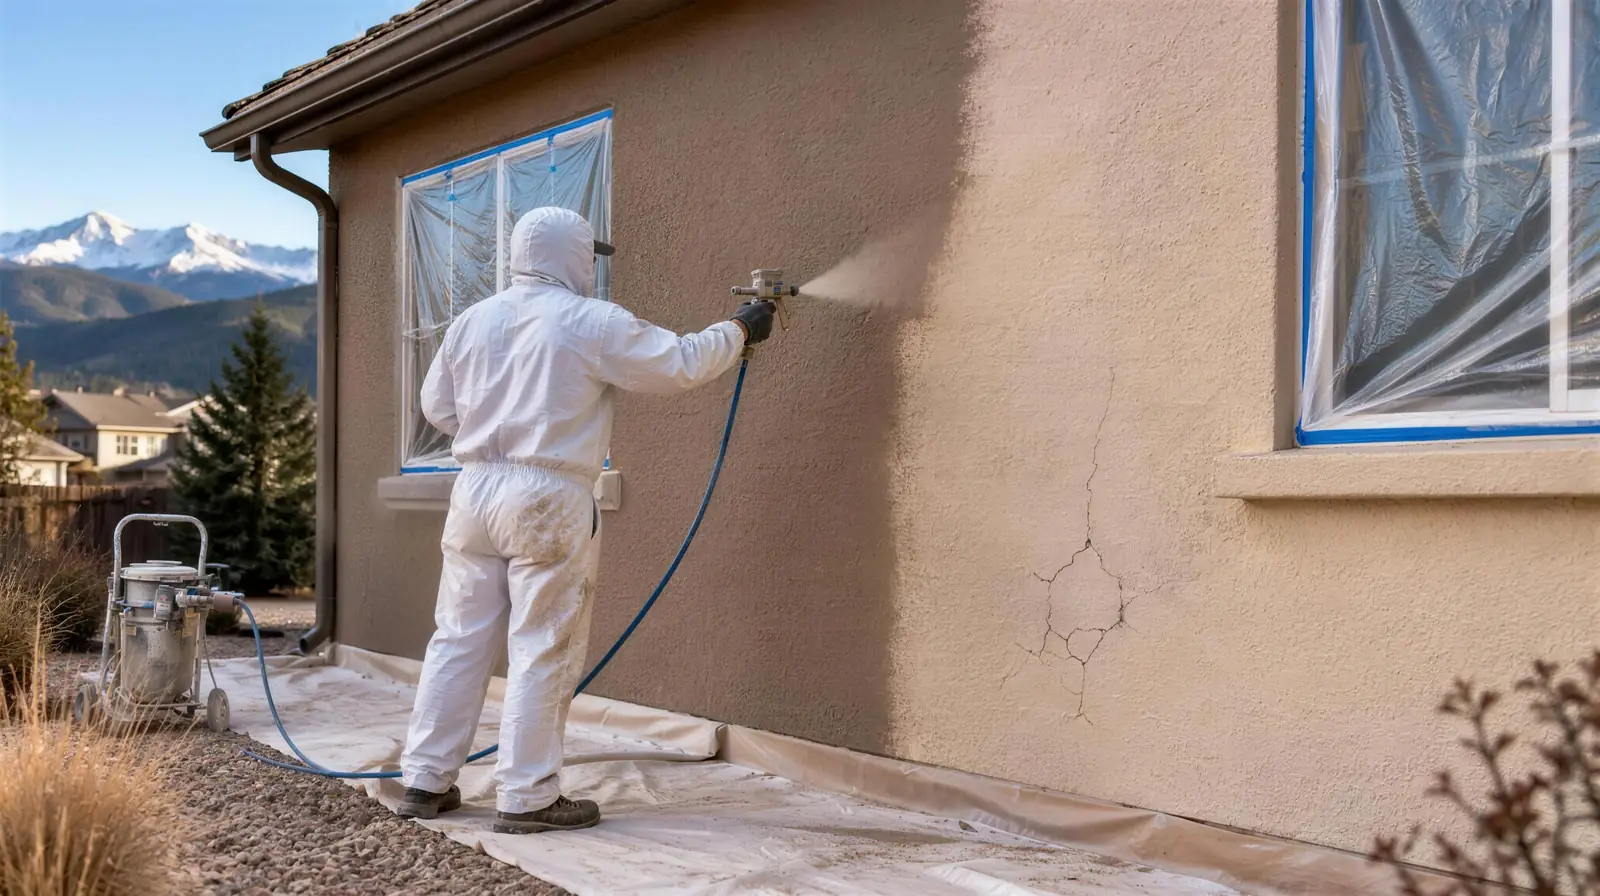
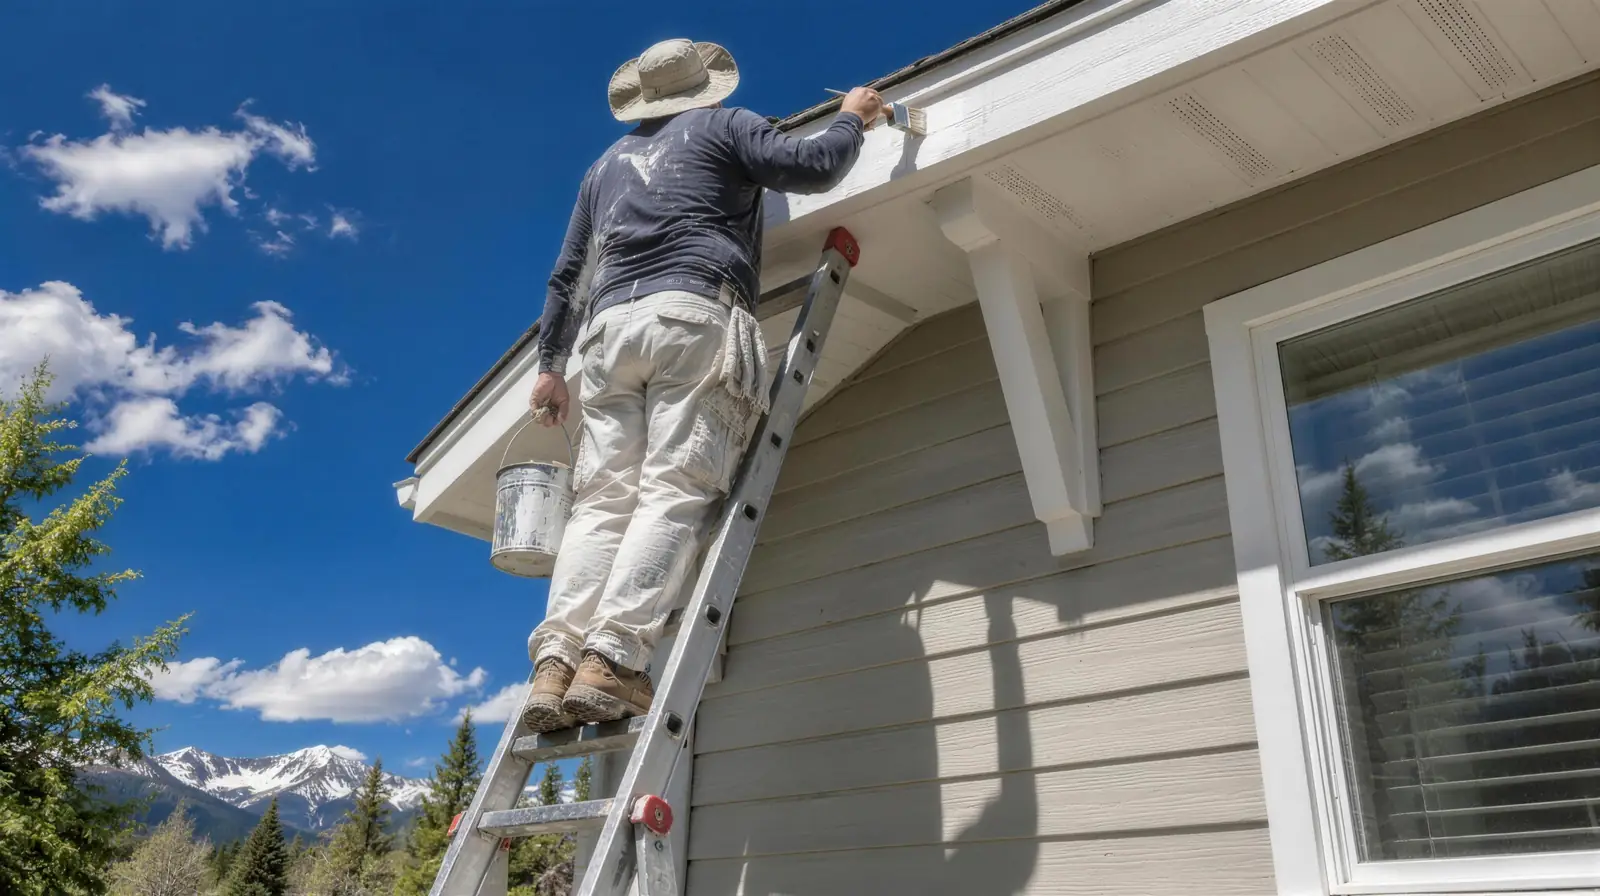
- Mask and protect windows, fixtures, roofs, walkways and plantings.
How far scraping and sanding should go
Scraping removes loose paint, not all paint. An edge a sharp scraper can't lift is bonded well enough to paint over. Taking a whole wall to bare wood is stripping, a different and much bigger job that a repaint rarely needs. Sanding then softens the step between old paint and bare wood so it doesn't show as a ridge under the new coat. Where old paint is thick and the edges still read, a skim of exterior patching compound can level them out before priming.
Washing and drying out
Paint sticks to whatever is on the surface. On the Front Range that's mostly chalk from old paint, dust from dry, windy weather, and in shady spots near sprinklers, mildew. A mildewcide or diluted bleach cleaner handles mildew; plain washing doesn't kill it.
Pressure washing too hard does damage. It gouges soft wood, forces water behind lap siding and into the cracks covered on our stucco painting page, and blows out old caulk. The goal is the lowest pressure that cleans, helped by a cleaner where needed. Low humidity speeds drying, but water driven behind siding can take longer to leave than the surface suggests. A moisture meter on wood answers the question, and some paint data sheets list a maximum moisture content.
Wood rot repair: epoxy or replacement
Rot starts where water sits: sill ends, the bottoms of door jambs and casings, fascia ends near downspouts, trim boards that run into a deck or roof, and the lowest course of siding near grade. A probe or awl finds it. Sound wood resists the point; rotted wood gives.
If this, then that
- If the rot is small and shallow, like a sill corner, then cut out the soft wood, harden what's left with a liquid epoxy consolidant, and rebuild with an epoxy filler that can be shaped and sanded.
- If the rot runs deep or covers much of a board, then replace the board and prime all sides and cut ends before it goes up.
- If rot keeps coming back in the same spot, then something keeps feeding it water (a missing kickout flashing, gutter overflow, a sprinkler head), and that needs fixing too.
Interior wood filler doesn't belong outside. Epoxy and exterior-rated fillers move with the wood, while hard putty tends to crack out after a winter of freeze-thaw cycles.
Spot priming with the right primer
| Spot | Primer type |
|---|---|
| Bare pine or fir | Exterior wood primer, acrylic or oil-based, compatible with the topcoat |
| Cedar, redwood and knots | Stain-blocking primer to stop tannin bleed |
| Epoxy repairs and new trim | Exterior primer compatible with the repair material |
| Rust on steel | Rust-inhibiting metal primer after wire brushing |
| Galvanized or glossy metal | Bonding primer rated for that metal |
| Patched stucco or masonry | Alkali-resistant masonry primer once the patch has cured |
| Chalky surfaces that won't wash clean | Primer formulated to bind chalk |
Spot priming isn't the same as priming the whole house. On sound, previously painted surfaces a full prime coat usually adds little. On a house with widespread bare wood after scraping, it makes sense. The scope should say which, wall by wall. Board-by-board detail for each siding type is on siding painting.
Caulking: where it goes and where it doesn't
Sealant keeps water out of joints where two materials meet: trim against siding, around window and door casings, and at penetrations for vents, pipes and light fixtures. A quality elastomeric or siliconized acrylic sealant, or polyurethane where a joint moves more, goes into clean, primed joints. Old caulk that has cracked, shrunk or lost its grip gets cut out, not buried under a fresh bead.
Lead-safe prep on pre-1978 homes
Lead-based paint was banned for residential use in 1978, and many older Front Range houses still have it under later coats: Victorian-era homes in Manitou Springs, prewar and postwar houses across Denver, and the older neighborhoods of Englewood and Wheat Ridge. Scraping and sanding those surfaces turns old paint into chips and dust.
The EPA's Renovation, Repair and Painting rule covers paid work that disturbs painted surfaces in pre-1978 homes beyond a small minor-repair amount (20 square feet on the exterior). It requires a certified firm, a certified renovator directing the work, the EPA's lead pamphlet given to the owner before work begins, and lead-safe practices on site:
- Plastic sheeting on the ground under the work area, extended out from the wall and weighted down.
- Misting and wet scraping to keep dust down.
- No open-flame burning, no high-temperature heat guns, and no power sanding or grinding without HEPA-filtered dust collection.
- Daily cleanup of chips and debris, with waste bagged and sealed.
- A visual check that the area is clean before containment comes down.
Homeowners can ask for testing first. An EPA-recognized test kit or a paint chip sent to a lab answers the question; without a test, paint on a pre-1978 house is treated as if it contains lead.
Request an estimate and tell us roughly when the house was built, so we can plan prep and containment from the first visit.